Express Entry portal upload: file prep for RCICs
A step-by-step way for RCIC practices to turn a pile of client documents into a clean, ordered Express Entry upload set, with a review gate before you file.
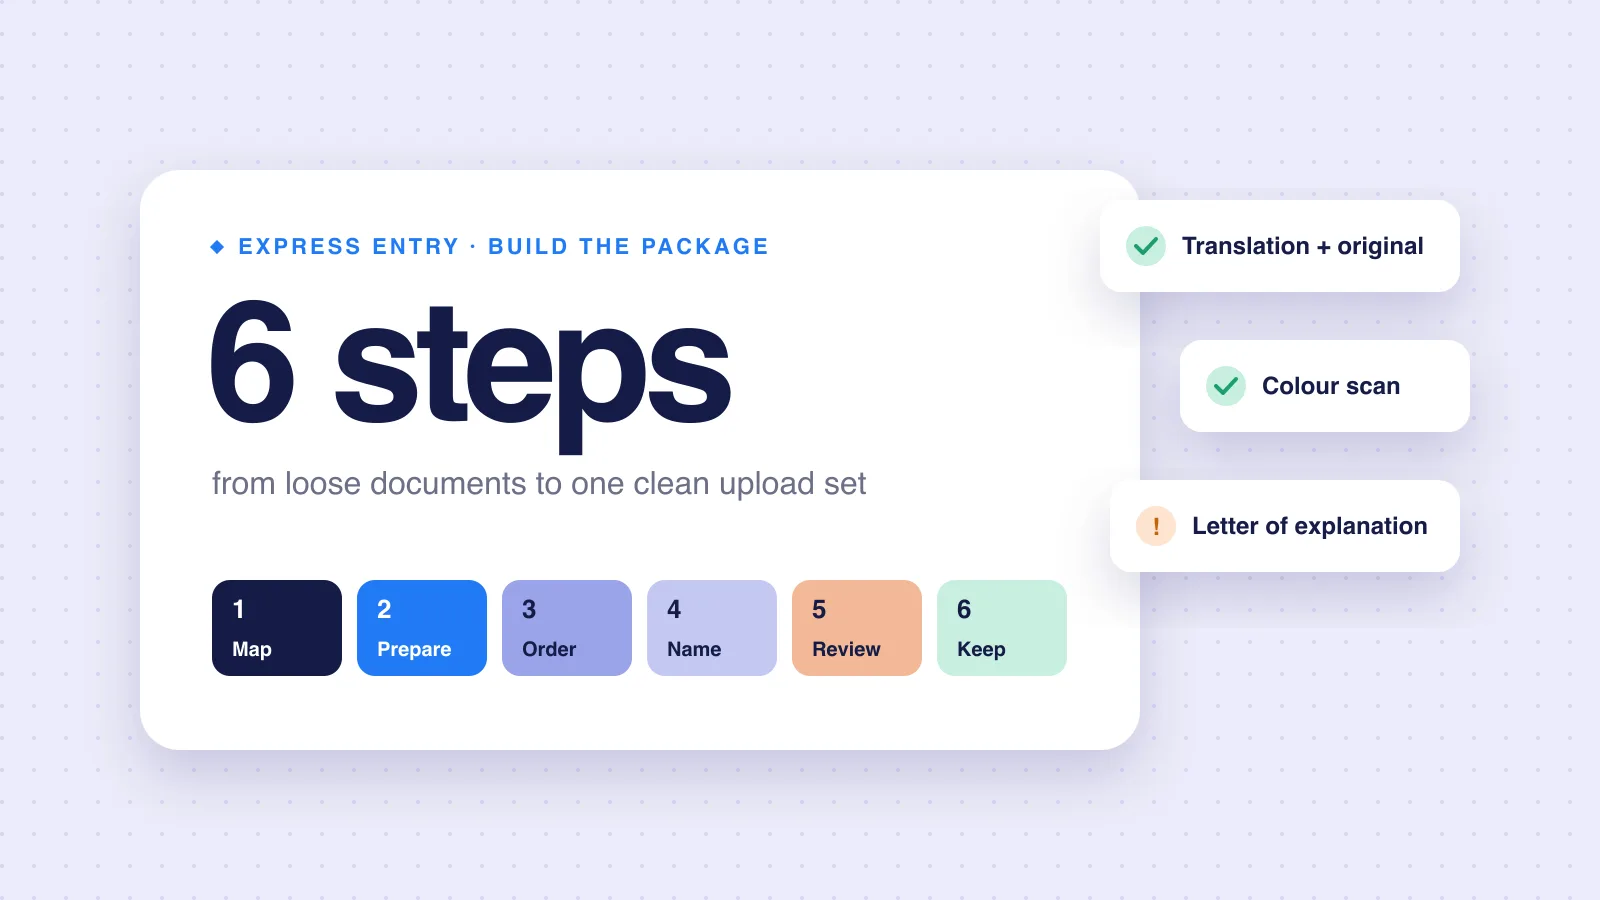
The invitation arrives and the clock starts. You have the documents, more or less. Now someone has to turn them into an upload set: the right files, in the right slots, readable, in order, with nothing missing. On many files this is the slowest part, and the part where small errors slip in.
This guide is for the consultant and staff who build the Express Entry application package. It covers what happens after the invitation, up to the moment you file. You file. Nothing here changes that. For the stages before the invitation, see Express Entry case management for RCICs.
The timeline you are working against
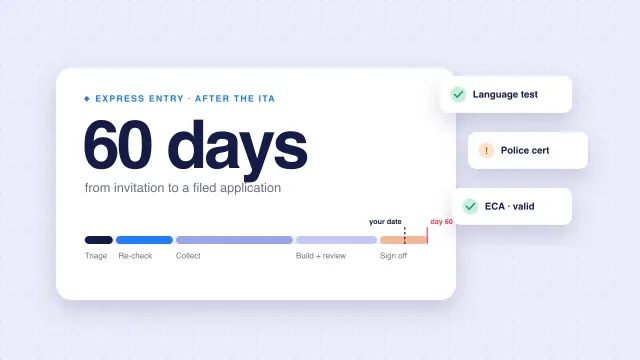
IRCC's invitation is valid for 60 days. The Ministerial Instructions set the window as ending on the 60th day after the invitation is issued. If no application is made in time, IRCC says the invitation expires and the profile is removed from the pool.
Plan the package backward from that date:
| Week | Goal |
|---|---|
| 1 | Online form started, personalized checklist mapped, missing items requested |
| 2-4 | Remaining documents in, translations ordered, medical exam booked |
| 5-6 | Package built, internal review done |
| 7 | Consultant sign-off, fees paid, filed |
| Buffer | Kept for portal issues and late documents |
The dates are a practice plan, not an IRCC rule. Adjust them to your files. The point is to leave real buffer at the end. Our Express Entry ITA checklist breaks the 60 days down week by week.
Step 1: Map IRCC's checklist to your file
IRCC says the personalized checklist appears once the online form is completed. Each line is an upload slot.
- Copy the slot names into a working list for the file.
- Next to each slot, write the documents that go into it.
- Mark each slot as ready, waiting or not applicable.
- Anything on IRCC's list that you did not expect is a question for the client today, not next week.
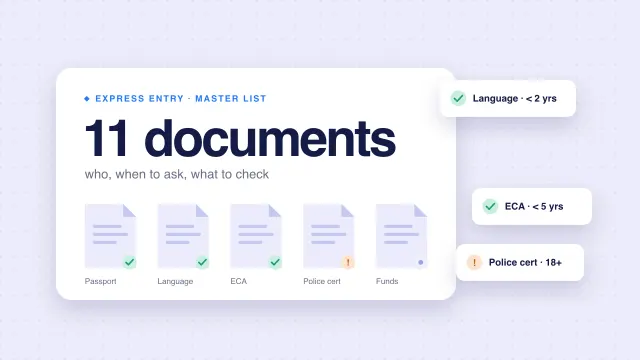
Compare it with your own master Express Entry document checklist. Gaps in either direction tell you something.
Step 2: Prepare each upload
One slot often needs several documents. Decide what goes in each file before anyone starts merging PDFs.
One subject per file
A slot for a police certificate holds that certificate, its translation if any, and nothing else.
Translations travel with the original
IRCC asks for the translation plus a scan of the original, or of the certified photocopy the translator used. See IRCC translation requirements.
Colour scans where IRCC asks
For police certificates, IRCC wants scanned colour copies of the originals.
Letters go with their documents
For a missing document, IRCC says to combine your letter and any related documents into one file. Upload it in place of the missing one. Our letter of explanation guide covers what to write.
Use accepted formats. Accepted formats depend on the online account. IRCC's Help Centre lists them by account type. Check before you convert anything.
Step 3: Put pages in a sensible order
An officer reading a 14-page bundle should not have to hunt. Inside each file:
- The document itself, first page first.
- Its translation, if any, directly after.
- Supporting pages in date order. For bank statements, oldest to newest or newest to oldest, but the same way on every file.
- Any explanation letter at the front of the bundle it explains.
Step 4: Name files the same way every time
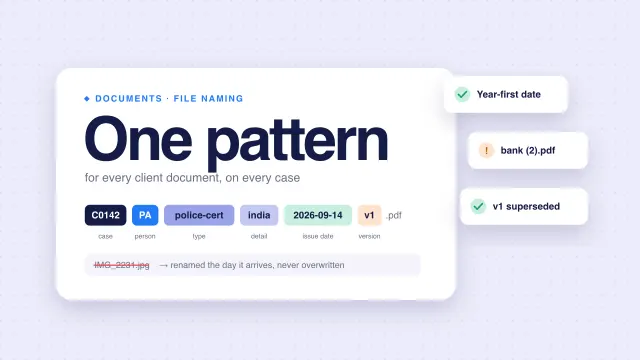
IRCC's format page does not set file naming rules. Your practice should. A clear name lets anyone on your team find a file in seconds and check it against the slot. Our immigration document naming guide has a pattern you can copy.
Step 5: Review before you file
Run the review on the built package, not on the loose documents. The question is whether this set, as uploaded, tells a consistent story.
- Names and dates of birth match across every document.
- Work dates match between the form, the reference letters and the profile.
- Language test and ECA are still within their validity at the planned submit date.
- Every family member has the documents the checklist asks for.
- Every non-English, non-French document has its translation.
- Fees are ready: processing, biometrics and the right of permanent residence fee, as IRCC lists them.
For a full list, see our immigration file review checklist.
Step 6: Keep a copy of what you filed
Save the exact files you uploaded, in the order you uploaded them, with the date. If IRCC asks for updated documents later, you can see what they already have. If the client asks what was sent, you can show them. If you are the paid representative, also check the application is linked to your IRCC APR portal account.
Who does what
| Task | Owner |
|---|---|
| Mapping the checklist | Staff |
| Chasing missing items | Staff |
| Building each upload | Staff |
| Review of the built package | Second staff member or the consultant |
| Sign-off and filing | The licensed consultant |
Two sets of eyes on the built package catch more than one person reading it twice.
Common build mistakes
These are the slips a build checklist is meant to stop:
- A translation uploaded without the original, or the original without its translation.
- A police certificate uploaded as a certified true copy. IRCC wants colour scans of the originals.
- Two family members' documents merged into one file.
- A bank letter from before the invitation, when fresh letters were planned.
- A letter of explanation uploaded on its own, away from the documents it explains.
- A file built from an old version after the client sent a replacement.
Each one is easy to fix before filing and slow to fix after. Add any slip your practice finds to the list, so the next build catches it. For the mistakes IRCC itself names, see Express Entry application mistakes RCICs can catch.
How rcicaxis handles this
Compose gives you every document, in order, as one PDF per section, with a cover page, a table of contents and dividers. Argus runs 100+ checks on every file and shows blockers and warnings before you sign off. Clients upload through the client portal, so the documents start in one place. rcicaxis does not file anything. You review the package and upload it to IRCC yourself.
Questions
When does IRCC show the document checklist for an Express Entry application?
IRCC says the personalized document checklist appears after the online application form is completed. You upload copies of each document into it.
What file formats does IRCC accept?
It depends on the online account. IRCC's Help Centre lists accepted formats per account type, so check it for the account your client's application uses.
What if a document is missing at submission?
IRCC's supporting documents page says to combine a letter explaining what is missing with any related documents into one file, and upload it in place of the missing document.
Does the package include a translation and the original?
Yes. For a document not in English or French, IRCC asks for the translation and a scan of the original, or of the certified photocopy the translator worked from.
Sources
- IRCC: Apply for permanent residence through Express Entry
- IRCC Help Centre: accepted file formats by online account
- IRCC: Your IRCC application, supporting documents
- IRCC: Express Entry, police certificates
- Ministerial Instructions respecting the Express Entry system
IRCC facts checked against the sources above on November 10, 2026. This is practice guidance, not legal advice.